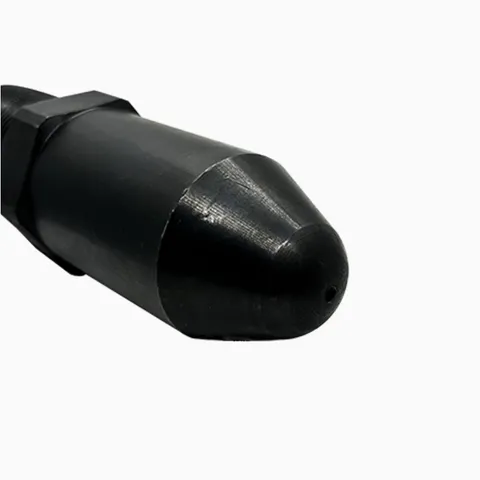
The check ring is the sliding ring on the screw tip of an injection molding machine that works as a non-return valve (also called a check valve or ring check valve). It lets the melt flow forward while the screw turns, then seals when the screw injects, so the shot goes into the mold instead of flowing back along the flights. A worn ring lets melt leak back, which shows as an unstable cushion and varying shots.
The screw tip and check ring are item 5 in the drawing.
How the check ring works
The non-return valve has three parts: the screw tip, which screws into the front of the screw; the check ring, a hardened ring that can slide a short distance along the tip; and the seat ring (check seat) behind it.
- While the screw turns (plasticizing): melt carried by the flights pushes the ring forward against the tip's wings. Melt flows between the ring and the tip into the space in front of the screw.
- When the screw injects: the pressure in front of the screw pushes the ring backward onto the seat ring. The valve closes, and the screw pushes the melt into the mold like a plunger.
- During hold pressure: the ring stays closed, so the screw can keep packing the part.
Because the ring closes only when it is pushed back, a little melt flows backward at the start of every injection before it seats. A worn or sticking ring lets much more flow back, and that leak shows up in the cushion.
Signs of a worn or damaged check ring
- The cushion varies from shot to shot, or the screw bottoms out.
- The screw drifts forward during hold pressure while the mold is full.
- Short shots or part weight variation that changing the process does not fix.
- Longer injection time at the same speed setting.
- Recovery is normal but the shot is inconsistent: the screw melts the plastic but cannot hold it.
A cracked ring or a broken tip can also leave metal fragments in parts, which is a reason to stop the machine immediately.
Why check rings wear
- Abrasive fillers such as glass fiber and minerals wear the ring's sealing faces and its outside diameter.
- Corrosive materials attack the steel.
- Cold starts: turning or injecting before the barrel has heated through puts high loads on the tip and ring.
- Barrel wear: the ring's outside diameter seals against the barrel bore, so a worn barrel leaks even with a new ring.
Inspecting and replacing the check ring
- Heat the barrel to processing temperature, let it soak, and purge it empty.
- Remove the nozzle and the barrel head (front flange), then, in manual mode at low speed and pressure, push the screw forward to expose the tip.
- Unscrew the tip with a screw head wrench while it is hot. Most screw tips have a left-hand thread, so check before applying force.
- Clean off the plastic and inspect the ring, seat and tip for scoring, chipped edges, cracks and wear on the sealing faces.
- Replace the tip, ring and seat as a set, coat the thread with high-temperature anti-seize compound, and tighten to the torque in the machine manual.
If the ring is worn, measure the barrel bore and the screw flights as well: our guide to measuring barrel and screw wear explains how.
What to send for a replacement
- The machine brand and model, and the screw diameter.
- The tip thread size and hand.
- The outside and inside diameters and the length of the ring, if you can measure them.
- Photos of the old tip, ring and seat.
The barrel and screw guide shows how the check ring fits with the rest of the plasticizing unit.
Updated by the IMSPARES technical team.